4.2.4 Import Photos and POS
Import Photos
In the task parameters panel on the left, you can import image data by file or by folder.
- Import by file allows you to select specific images within a folder to participate in reconstruction.
- Import by folder will import all images within the selected folder (including subfolders) into the task.
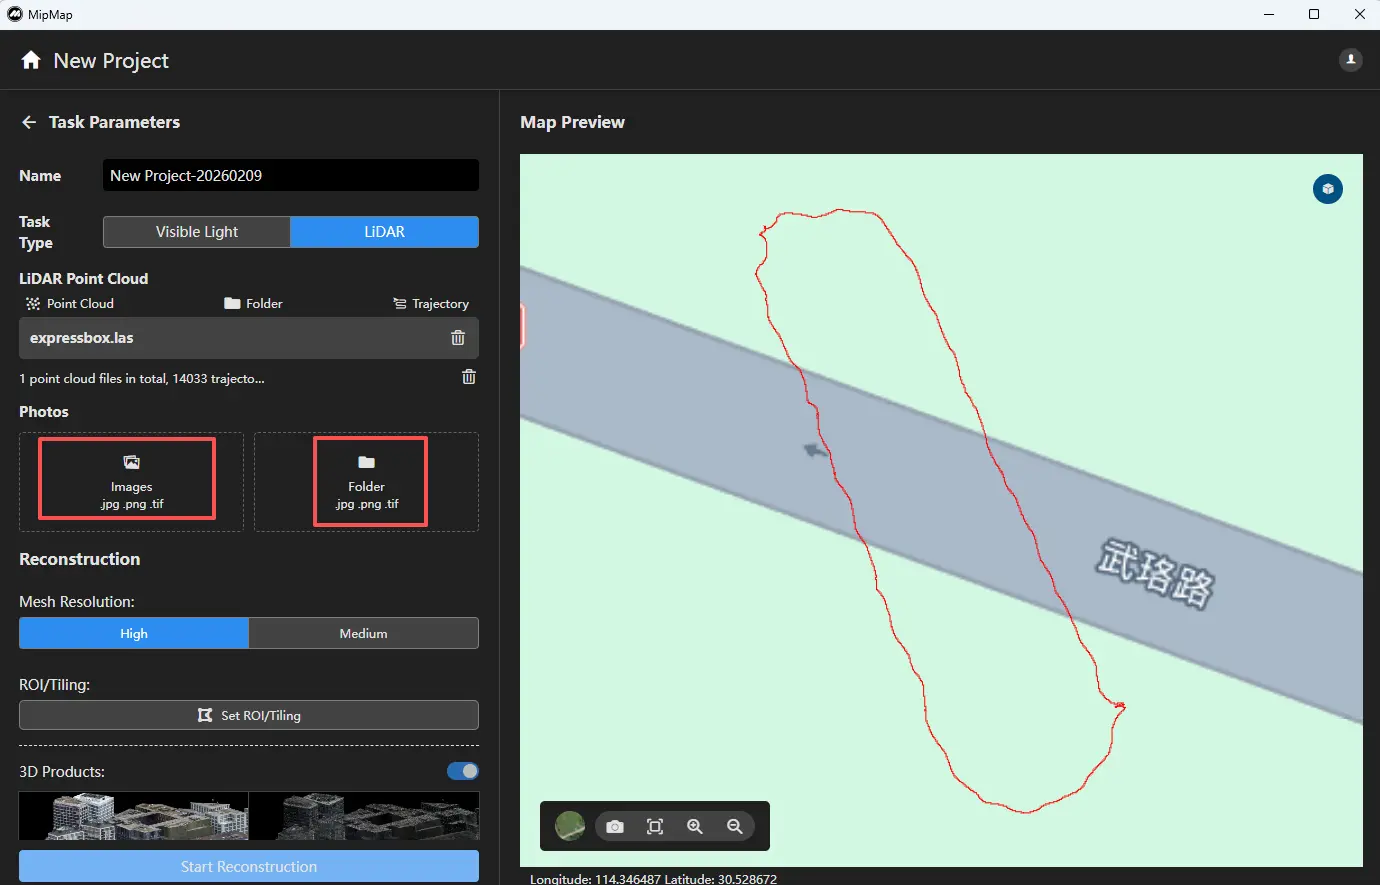
If the image contains embedded location information, the software will automatically read it.
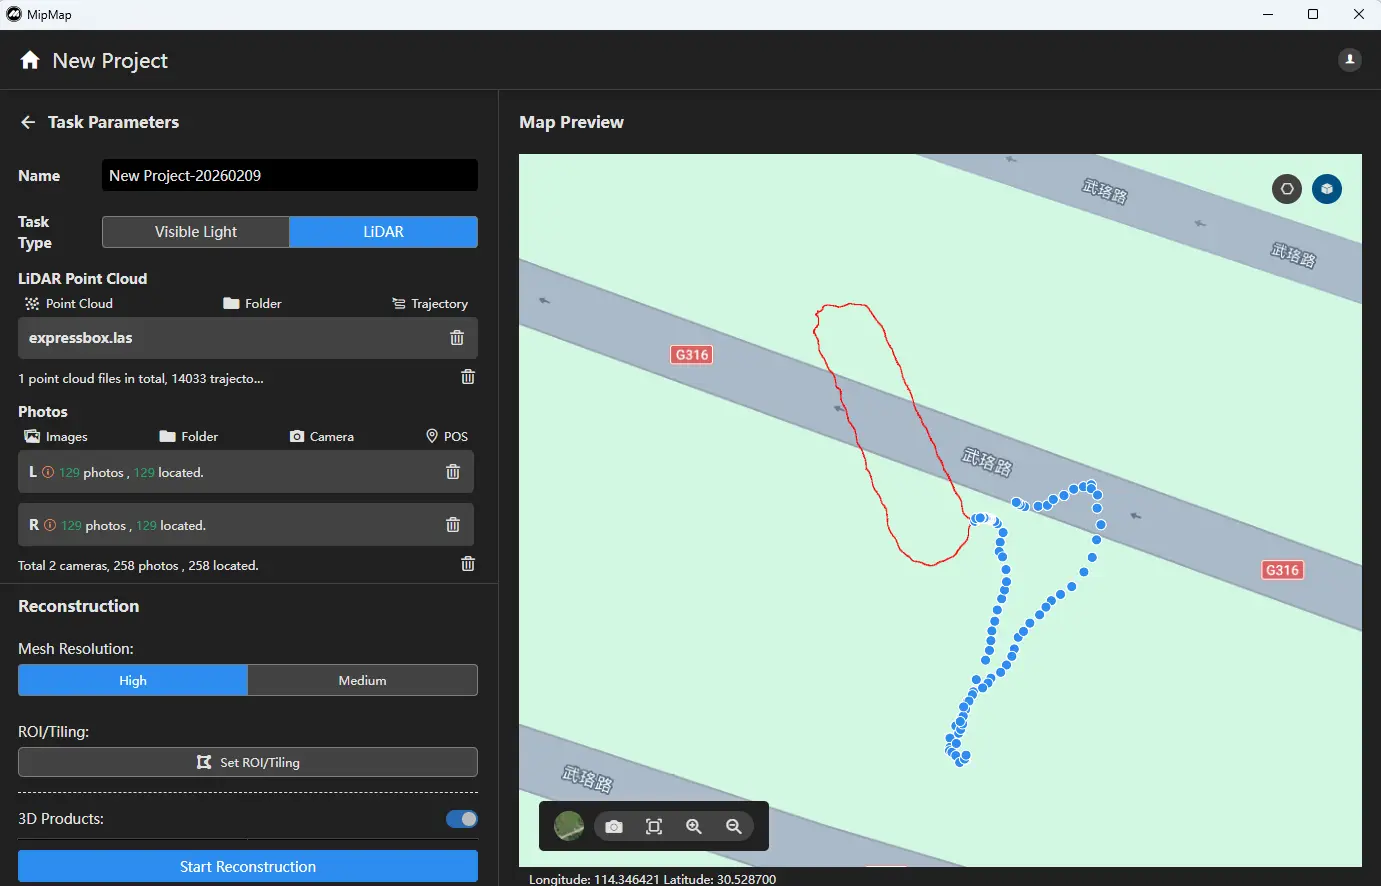
Note: Fisheye images from LiDAR systems must be grouped by camera and imported according to their respective cameras.
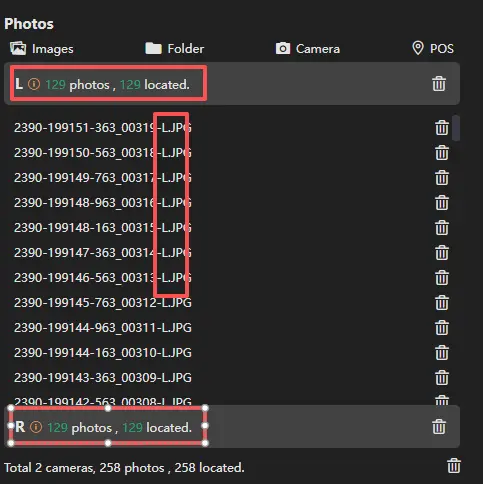
After importing images, you can click the corresponding function above the image list to continue importing more data. You can also click the delete icon on the right side to remove images from a camera.

Import POS
You can click the POS function above the photo list to open the POS interface. For LiDAR data, it is generally recommended to import and use the coordinates and attitude information from the POS file.

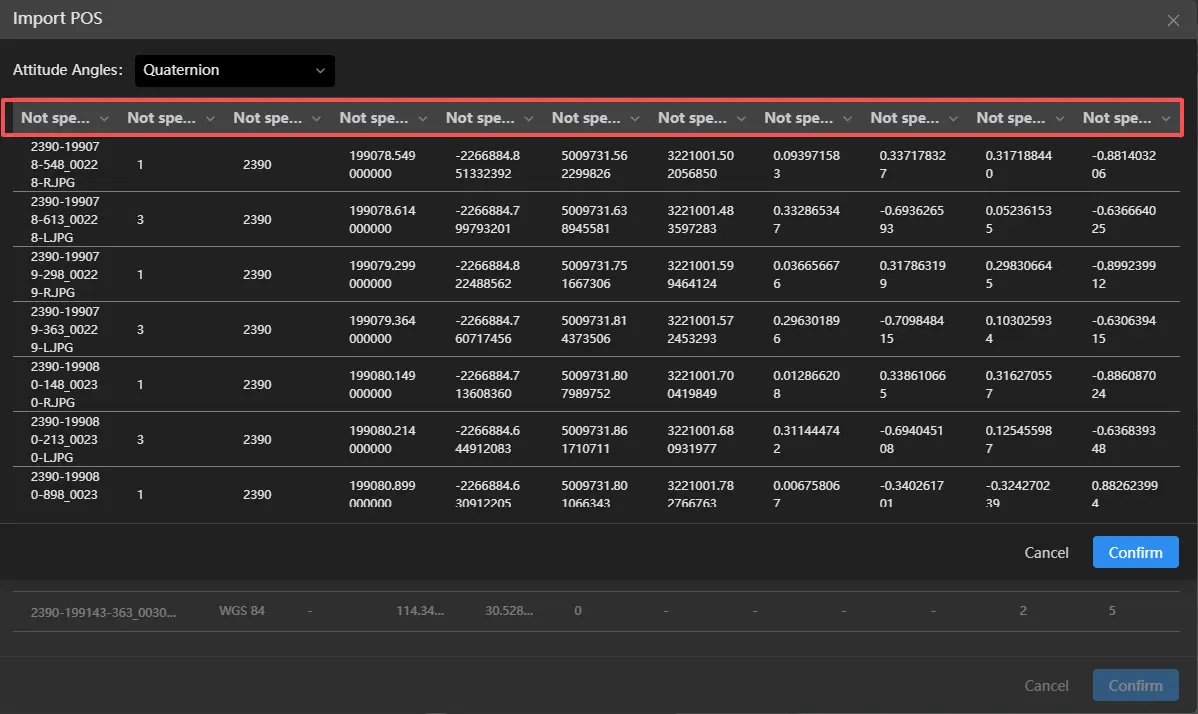
Click Import POS File ![]() , select the corresponding POS file, choose the attitude angle convention used, and assign the appropriate columns for name, XYZ coordinates, and attitude angles. After configuration, click Confirm.
, select the corresponding POS file, choose the attitude angle convention used, and assign the appropriate columns for name, XYZ coordinates, and attitude angles. After configuration, click Confirm.

Next, set the coordinate system for the POS data  .
.

For coordinate accuracy, importing POS data for LiDAR is generally set to high precision by default.

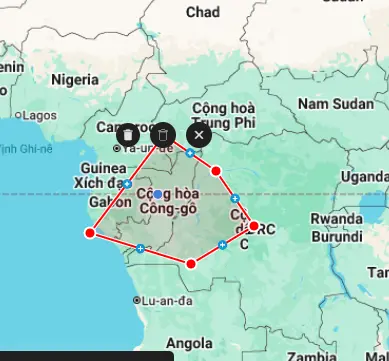
After completing the setup, click Confirm. If there are incorrect or unnecessary parts, you can use the Region Delete function (left-click to draw a selection area, double-click to finish) to remove the corresponding POS and images.
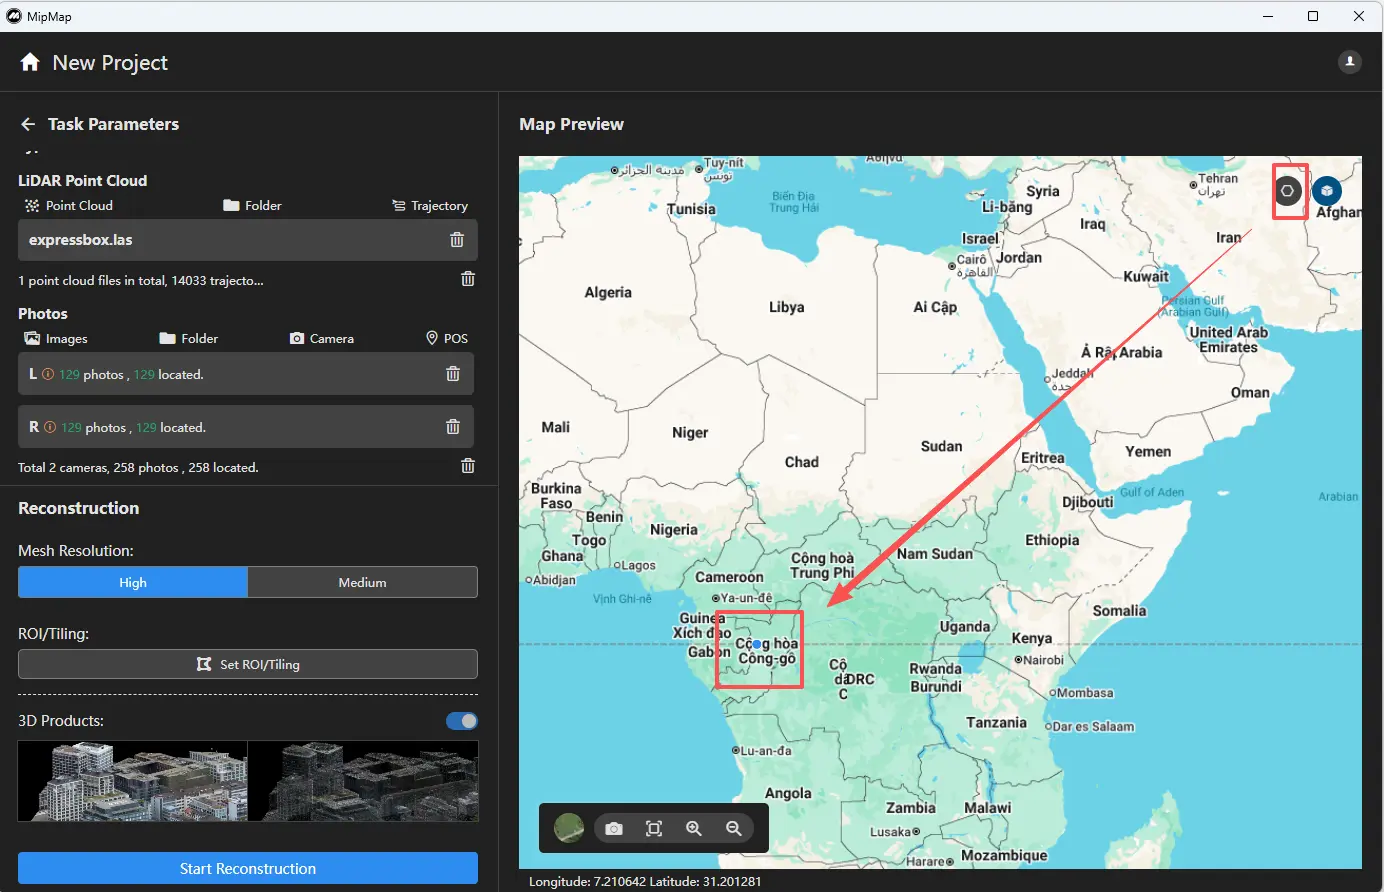
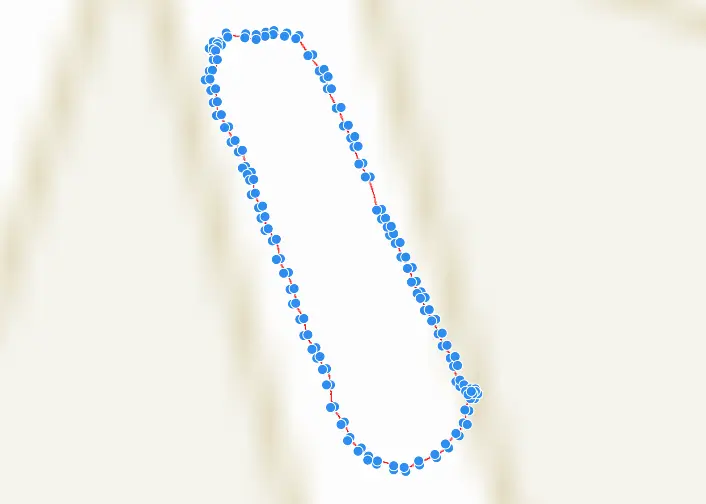
If configured correctly, a preview will be displayed on the map after import.